{DIY} Hot Chocolate in Vintage Milk Bottle Party Favors
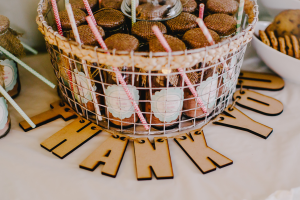
A few months ago, I was browsing Pinterest and came across loads of cute vintage milk bottle photos. As soon as I saw them, I knew I wanted to incorporate them in my daughter’s 1st birthday party. Most of the favors didn’t include the lid so I needed to think of something to fill the bottle with but packaged in a way so that the lids blended in with the party’s shabby chic design theme. I came up with the idea of using hot chocolate because the favor would be given out at the end of the party as a “sweet ending” and it seemed fun for the kids to be drinking hot chocolate on the way home.
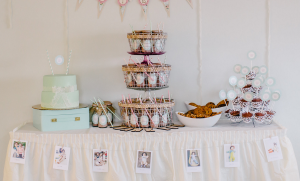
As far as packaging, my original design used scalloped tags which would be hung around the lid but the favor ended up looking very top heavy. Therefore, the final design used round, scalloped labels on the bottle’s midrift while a small silver “thank you” charm was tied around burlap with mint green baker’s twine. I really love the final look of the favor and it took me about 5 days to DIY including filling the bottles with hot chocolate, designing, printing and labeling the bottles then tying the charm over the burlap. If you are in need of some shabby chic favor ideas, feel free to try this one! You can easily customize the colors, the label and fabric to match your party design.
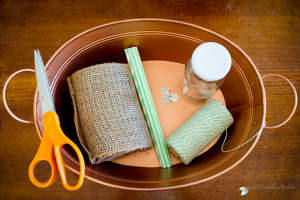
Materials:
- baker’s twine (sole on amazon.com)
- charm (sold on orientaltrading.com)
- burlap roll (sold on orientaltrading.com)
- vintage milk bottles (sold on amazon.com)
- round, scalloped labels (sold on amazon.com)
- your favorite hot chocolate mix or your choice of candy filling
- paper straws
DIY Steps:
- quickly clean the milk bottle, peel off all manufacturer stickers and labels and remove the lid
- using a funnel, fill the milk bottles with hot chocolate about 1/4 of the way (or your choice of filling)
- put the lids back on the bottle
- design, print and adhere the scalloped labels to the milk bottle
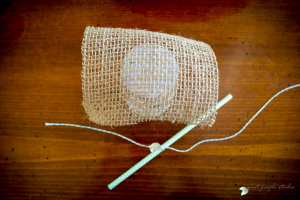
- cut enough square pieces of burlap or fabric of your choice about 4″x4″ to cover the lids of your milk bottles
- cut about 10″ of baker’s twine for each milk bottle you need to tie
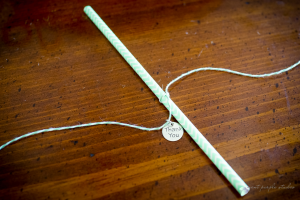
- tie the baker’s twine around a paper straw and string a charm on the twine
- assembly time! place a fabric square over the lid and milk bottle, smooth down the fabric all around the lid with one hand and wrap the twine with straw and charm attached around the fabric with the other hand (this step might take a little time to perfect).
- wrap the twine around twice and then pull taut. it should hold its position pretty well so you don’t have to worry about the fabric flying out of place at this point
- tie a double knot and then a bow and you’re done!
Feel free to drop me a line if you’re having trouble with the DIY process. Enjoy your cute vintage milk bottle party favors!


