{DIY} Recycling Photo Banners into Thank You Cards

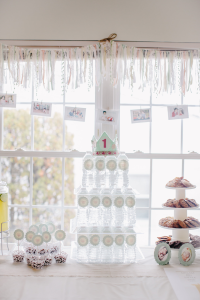
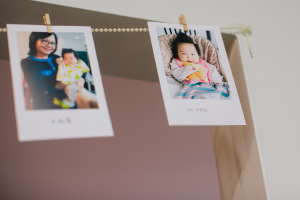
As part of my baby’s shabby chic party theme, I created a photo banner using photos which I recycled into thank you cards that my guests loved. This is a great DIY idea if you are looking for an environmental way to decorate. It’s also a great way to save your party’s deco because you can scrapbook parts of your photo banner if you have extra photos after turning them into Thank You cards.

To create my photo banner, I spliced an 8.5×11 sized document in Illustrator and used four clipping masks to evenly clip photos placed in the document (two on the top and two on the bottom with the document in portrait position). I printed about fifteen pages for a total of sixty photos and then cut them out. The photos were then clipped onto a string of mini faux pearls (bought from orientaltrading.com) with baby clothespins.

To DIY my thank you cards, here are the steps:
Materials:
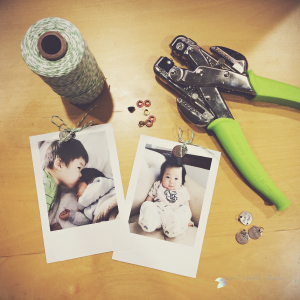
- eyelets
- eyelet punch and fixer
- charms
- baker’s twine
- photo
DIY Steps:
- punch a hole using an eyelet punch in your photo where you’d like to hang a charm
- fix the eyelet in the hole using the eyelet fixer
- string a piece of twine through the eyelet
- tie the charm to your photo with a bow
Voila, you’re done! You can easily change the steps and turn the photo into a scrapbook element as well. Be creative and have fun!


